How to Check Image Resolution: Pixels, DPI, and Megapixels
How to check image resolution on any device: pixel dimensions, DPI, and megapixels on Windows, Mac, iPhone, Android, or free in your browser.
A client asks for "high resolution." A print shop asks for 300 DPI. A form rejects your photo for being too small. All three are really asking: how many pixels does this image have, and is that enough?
Checking takes ten seconds. Drop the image into the free Resolution Checker and it shows the pixel dimensions, megapixels, aspect ratio, file size, and DPI. It runs in your browser, so the image never leaves your device. No upload, no signup.
How do I check the resolution of an image?
The fastest way is the browser tool linked above. Drag the image in, or click to browse, and the numbers appear immediately. You get the width and height in pixels (that pair is what "resolution" means for screens), plus the megapixel count, aspect ratio, file size, and the DPI value stored in the file if there is one.
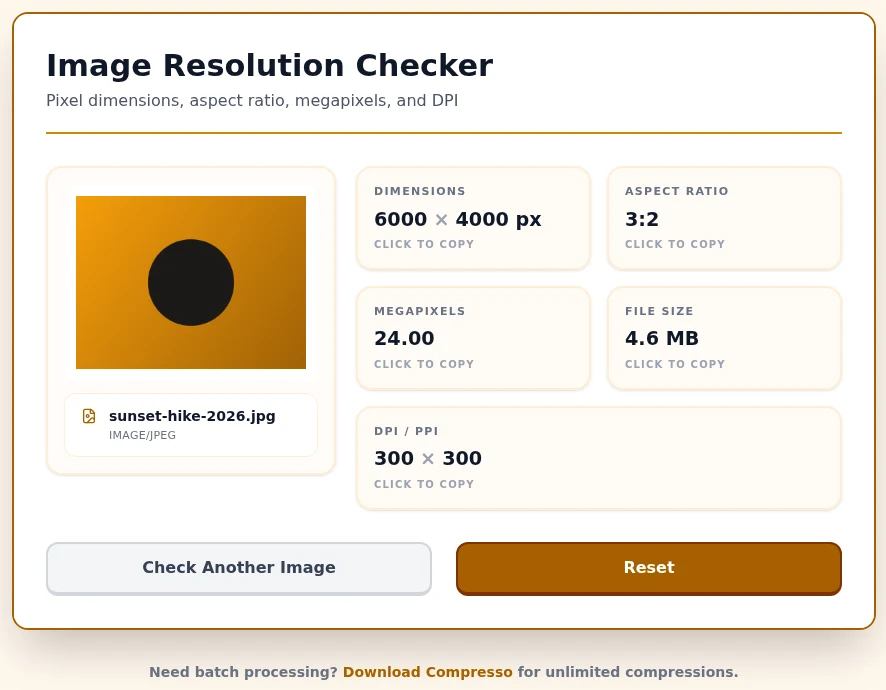
Each card is click-to-copy, so you can paste the dimensions straight into an email or a form. Click the preview to open the image at full size.
If you would rather use what is already on your computer, every operating system can show the same numbers. The next three sections are the steps.
How to check image resolution on Windows
Right-click the image file, choose Properties, then open the Details tab. The width and height in pixels are listed under "Image" as Dimensions, and the DPI values (Horizontal resolution and Vertical resolution) sit right below them.
For a quick look without the extra clicks, open the image in the Photos app and press Ctrl + I, or right-click it and pick File info.
How to check image resolution on Mac
In Finder, click the file once and press Cmd + I (or right-click and choose Get Info). The "More Info" section lists the dimensions in pixels.
If you want the DPI too, open the image in Preview, then go to Tools > Show Inspector. The first tab shows pixel dimensions and the DPI value stored in the file.
How to check image resolution on iPhone and Android
On iPhone, open the photo in the Photos app and swipe up. The panel under the image shows the dimensions in pixels, along with the camera and file details. That is Apple's own Photos documentation, and it works the same way for videos.
On Android, open the photo in Google Photos and swipe up, or tap the three-dot menu. The details panel lists the resolution as width x height in pixels.
Neither phone view shows DPI. That is fine, because for anything on a phone screen, pixels are the only number that matters.
What is the difference between pixel dimensions and DPI?
Pixel dimensions count the dots in the image itself: a 4000 x 3000 photo has 4000 pixels across and 3000 down, which is 12 megapixels. That number is fixed. It is what the image is.
DPI (dots per inch) is a print instruction. It says how tightly those pixels get packed onto paper. Adobe's DPI guide puts it plainly: the more dots per inch, the more detail you see in print. On a screen, DPI does nothing. A 1000-pixel-wide image fills the same 1000 pixels of your monitor whether the file says 72 or 300.
The useful math: print size in inches equals pixels divided by DPI. A 3000-pixel-wide image prints 10 inches wide at 300 DPI, or 20 inches wide at 150 DPI. Same file, same pixels, different physical size.
So when a print shop asks for "300 DPI at A4," convert that back to pixels: 2480 x 3508. Check your image against those numbers, not the DPI tag.
What resolution do you need for print, web, and social?
For print, aim for 300 DPI at the final physical size. Here are the pixel targets for the sizes people actually print:
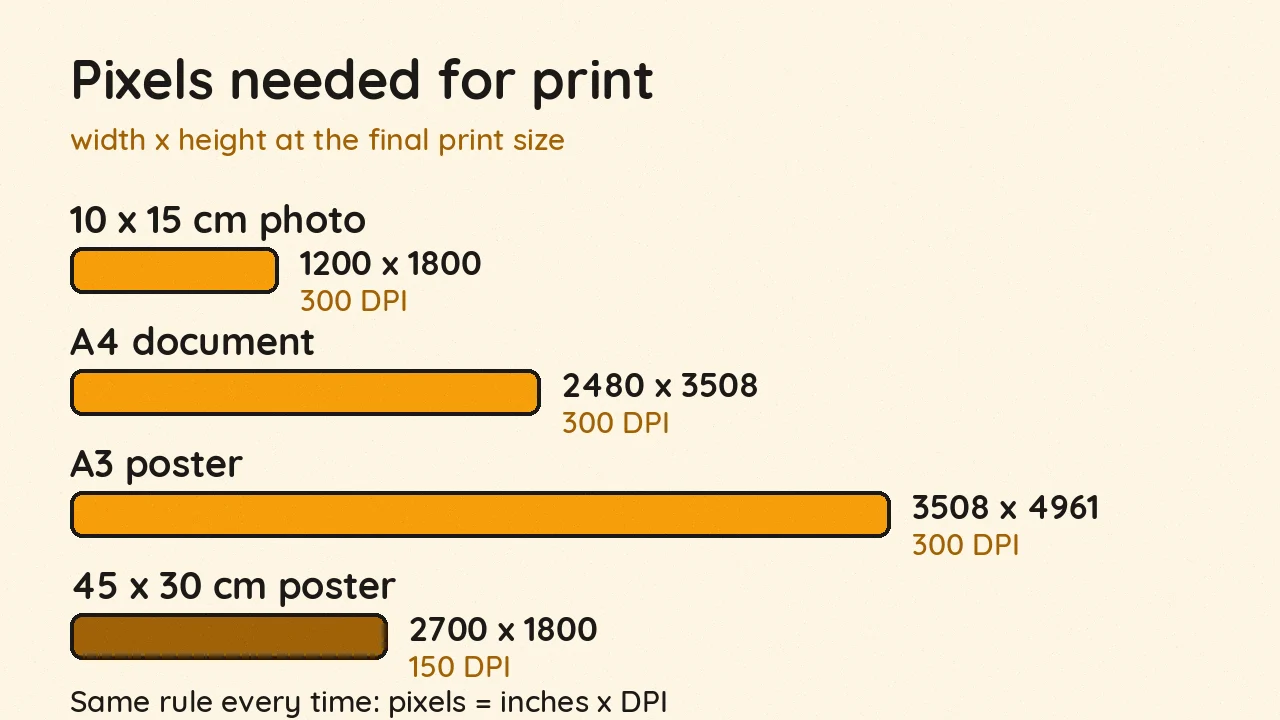
- 10 x 15 cm photo print: 1200 x 1800 pixels at 300 DPI.
- A4 document: 2480 x 3508 pixels at 300 DPI.
- A3 poster: 3508 x 4961 pixels at 300 DPI.
- Large poster viewed from a distance: 150 DPI is enough, so a 45 x 30 cm poster needs about 2700 x 1800 pixels.
For web and social, forget DPI entirely. Think in pixels and file size. A photo displayed at 1080 pixels wide on Instagram gains nothing from being 6000 pixels wide, but the 12MB file size slows everything down. Resize or compress to fit the platform, then upload.
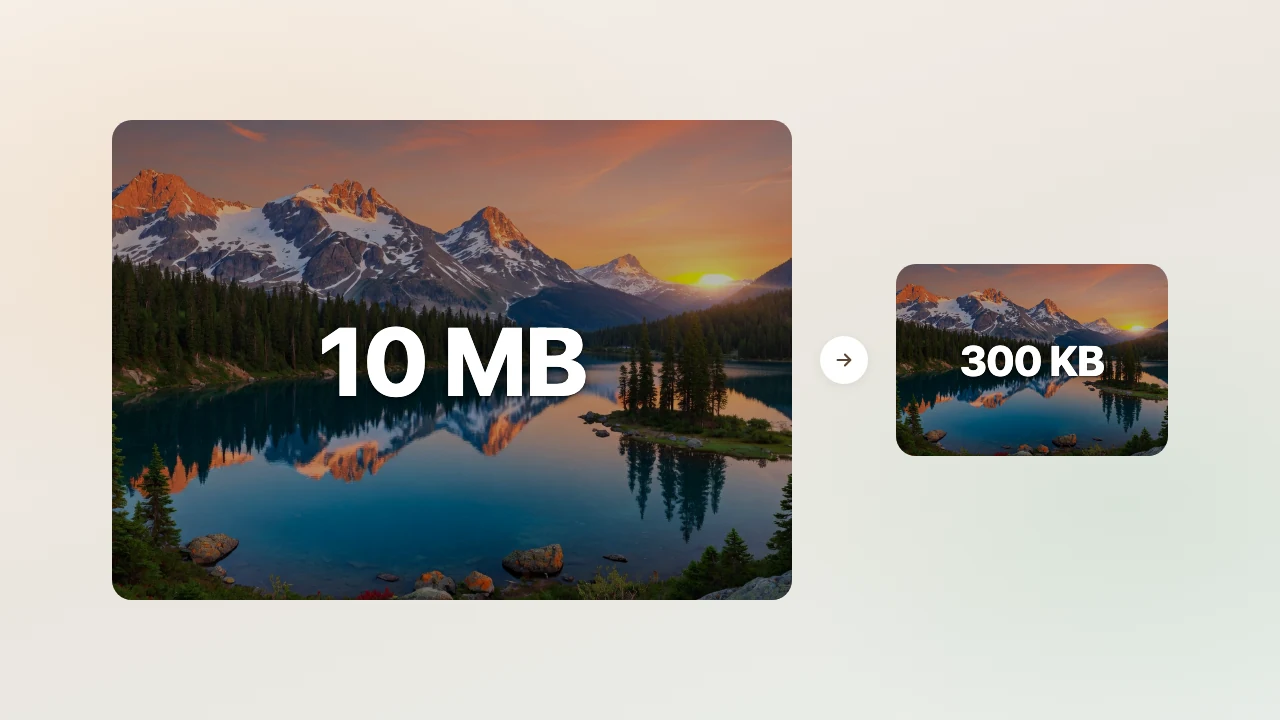
If your check shows more pixels than you need and a file that is too big to send, that is the normal case, and it is easy to fix. Compress the image to the size you need, like a photo under 50KB for a form, or run a whole folder through Compresso on your desktop. And if you want to understand what compression actually removes from the file, read how image compression works.
How do I fix a low-resolution image?
You cannot add detail that was never captured, but you have three real options. First, get the original: photos shared over chat apps are re-compressed and shrunk, so ask the sender for the file itself, not the chat version. Second, re-export from the source. If the image came out of a design tool or a camera app, export it again at a larger size. Third, run it through an upscaler and accept that the result is estimated detail. It holds up for small prints and web use, less so for large ones.
What does not work: changing the DPI number in the file, or resizing to double the pixels in an editor. Both produce a bigger number with the same information. Check the pixel dimensions, and if they are short, fix the source.
Check the pixels first. Print at 300 DPI, post at platform size, and compress anything too heavy to send.
Frequently asked questions
- How do I check the resolution of a photo on my phone?
- On iPhone, open the photo in Photos and swipe up to see the dimensions. On Android, open it in Google Photos and swipe up or tap the three-dot menu. Both show the pixel size under the image.
- Is 300 DPI good for printing?
- Yes. 300 DPI is the standard benchmark for sharp prints at normal viewing distance. Posters viewed from farther away can go lower, around 150 DPI.
- How many megapixels do I need for an A4 print?
- About 8.7 megapixels. A4 at 300 DPI works out to 2480 x 3508 pixels. Any modern phone camera shoots well past that.
- Why does my image show 72 DPI?
- 72 is a default value many cameras and apps write into the file. On its own it means nothing. What matters for print is how many pixels you have, because you can set the DPI when you print or export.
- Does higher resolution mean a bigger file?
- Usually, yes. More pixels means more data, so a 6000 x 4000 photo is almost always a larger file than a 1200 x 800 one. If the file is too big to send, compress it after you check the numbers.