How Does Image Compression Work? A Deep Dive
Understand the science behind JPEG, PNG, and WebP, and learn how to optimize images for peak web performance without sacrificing quality.
In the digital world, images are the currency of engagement. They capture attention, convey emotions, and break up walls of text. However, high-quality visuals come with a price: file size. Large images slow down website load times, eat up user data plans, and negatively impact SEO rankings. This is where image compression becomes a critical tool for every developer and creator.
But what actually happens when you "compress" an image? Is it magic? Is it just deleting pixels? In this comprehensive guide, we will peel back the layers of digital imaging to understand the algorithms that make the web fast.
The Basics: What is an Image?
To understand compression, we first need to understand what we are compressing. At its core, a digital image is just a massive grid of colored dots called pixels.
In a standard RGB image, each pixel is represented by three numbers corresponding to the intensity of Red, Green, and Blue light. typically ranging from 0 to 255.
- Red: 0-255
- Green: 0-255
- Blue: 0-255
This means a single pixel requires 3 bytes of data (8 bits per channel). Now, consider a standard 4K image (3840 x 2160 pixels):
width = 3840
height = 2160
pixels = width * height # 8,294,400 pixels
bytes_per_pixel = 3
total_size_bytes = pixels * bytes_per_pixel # ~24.9 MB
A raw 4K image is nearly 25 MB. Yet, when you download a 4K wallpaper from the web, it's often only 2-3 MB. How do we shave off 90% of the data without turning the image into a blurry mess? The answer lies in identifying and exploiting redundancy.
Types of Compression
There are two fundamental approaches to compression: Lossless and Lossy.
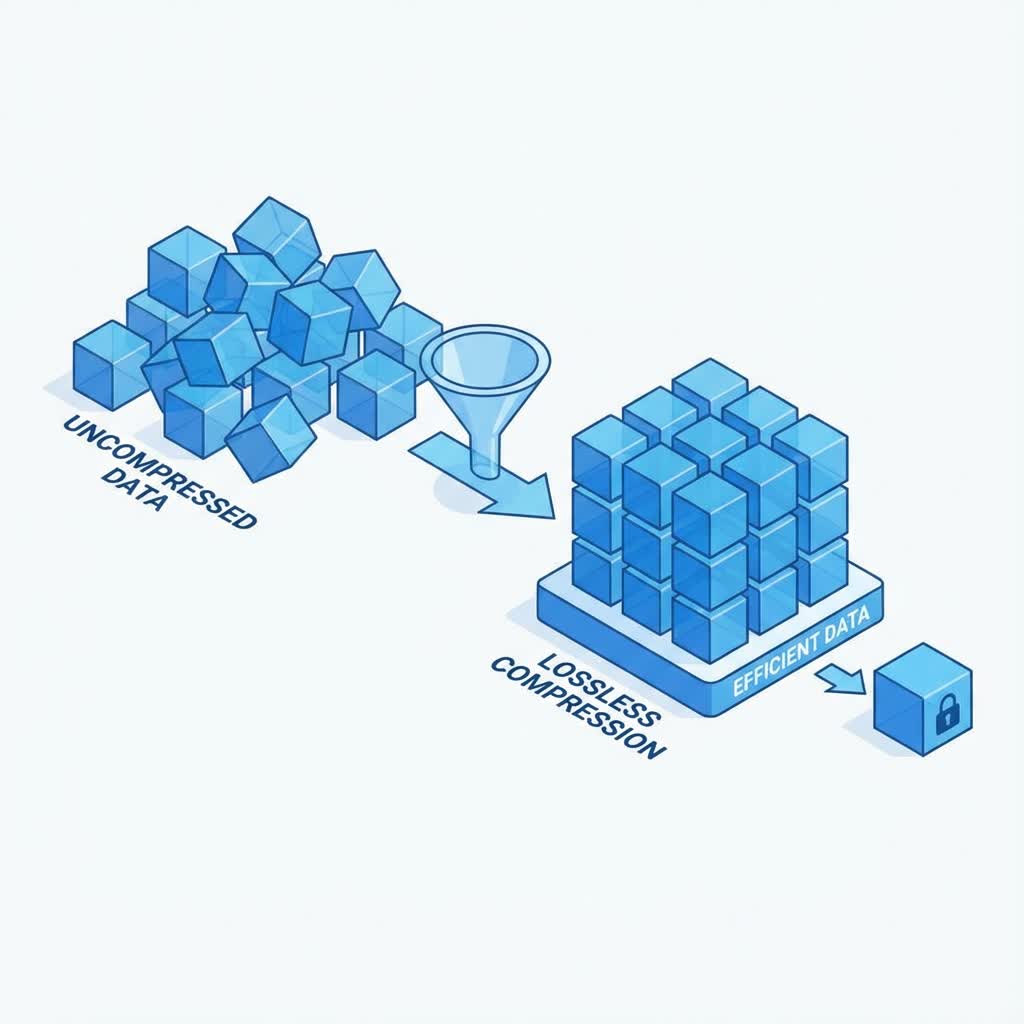
1. Lossless Compression
Lossless compression reduces file size without losing a single bit of information. If you compress a file and then decompress it, you get back the exact original data. This is crucial for text documents, code, and critical data like medical imaging.
Run-Length Encoding (RLE)
One of the simplest forms of lossless compression is Run-Length Encoding. Imagine an image with a simple white background. Instead of saving "white pixel, white pixel, white pixel..." thousands of times, RLE counts the run of identical pixels.
Original Data:
WWWWWWWWBBBWWWWW
Compressed Data:
8W3B5W
We just turned 16 characters into 6. This works incredibly well for simple graphics, logos, and screenshots (which is why PNG is great for these), but terrible for photographs where colors change constantly.
2. Lossy Compression
Lossy compression is where the real magic happens. It significantly reduces file size by permanently removing data that the human eye is less likely to notice. This is the mechanism behind JPEG, WebP, and most video formats.
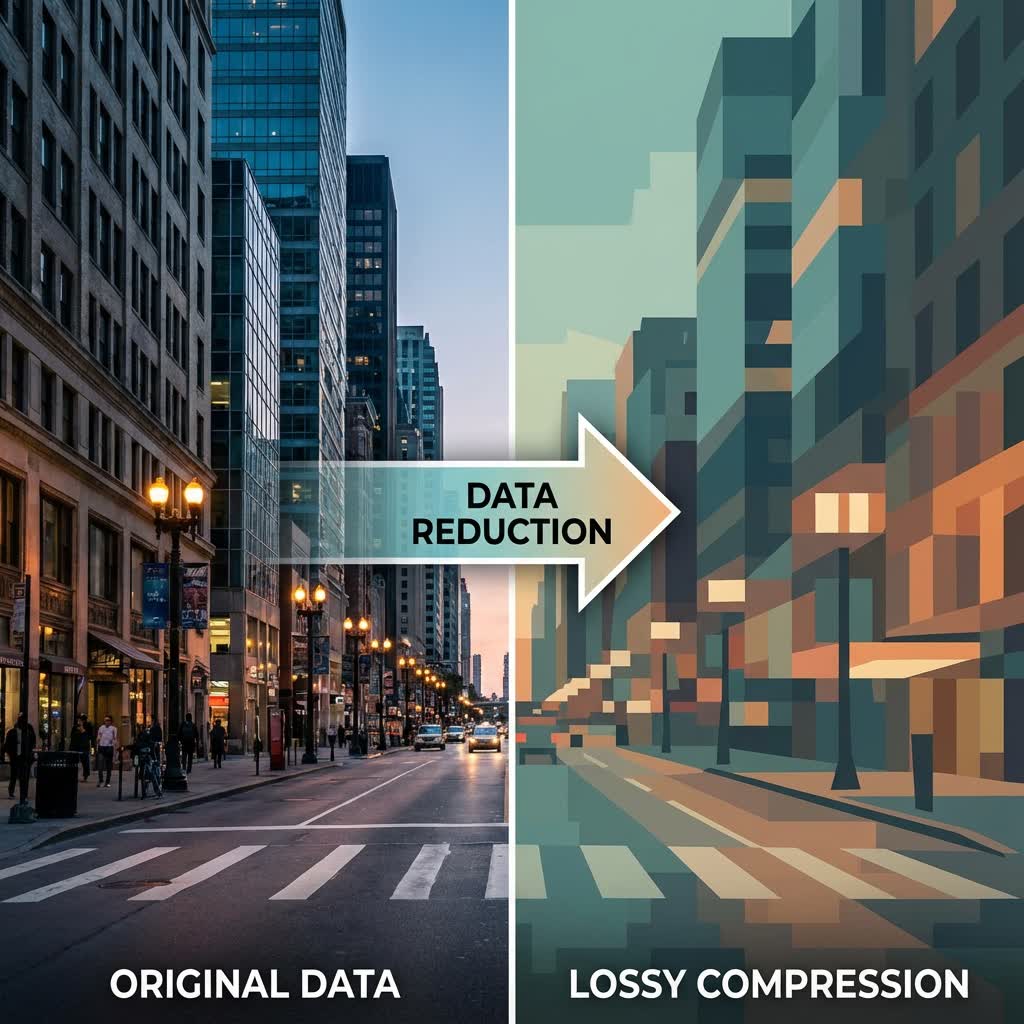
Psychovisual Redundancy
Our eyes are surprisingly easy to trick. We are much more sensitive to changes in brightness (luminance) than we are to changes in color (chrominance). Lossy algorithms exploit this by keeping the brightness information in high detail while averaging out color information over larger blocks of pixels. This process is known as Chroma Subsampling.
The JPEG Algorithm: A Closer Look
JPEG is the grandfather of image compression, yet it remains the most popular format on the web. Its compression pipeline is a fascinating mix of math and biology.
Step 1: Color Space Conversion (RGB to YCbCr)
First, the image is converted from RGB (Red, Green, Blue) to YCbCr:
- Y (Luma): Brightness/Light intensity.
- Cb (Blue-difference): How blue the pixel is relative to luma.
- Cr (Red-difference): How red the pixel is relative to luma.
This separates the important brightness data from the less important color data.
Step 2: Discrete Cosine Transform (DCT)
This is the heavy lifter. The image is split into 8x8 blocks. The DCT converts these spatial pixels into "frequencies".
- Low Frequencies: Large, gradual changes in color (like a blue sky).
- High Frequencies: Sharp details and noise (like grass blades or hair).
The human eye is bad at seeing high-frequency noise. DCT allows the algorithm to mathematically separate these details so we can throw the invisible ones away.

Step 3: Quantization
This is where the "loss" occurs. The high-frequency data from the DCT step is divided by a specific number and rounded to the nearest integer. Because high-frequency numbers are often small, dividing them often results in zeros.
A block that was complex data becomes a sequence of mostly zeros, which is incredibly easy to compress using Huffman coding (a lossless technique).
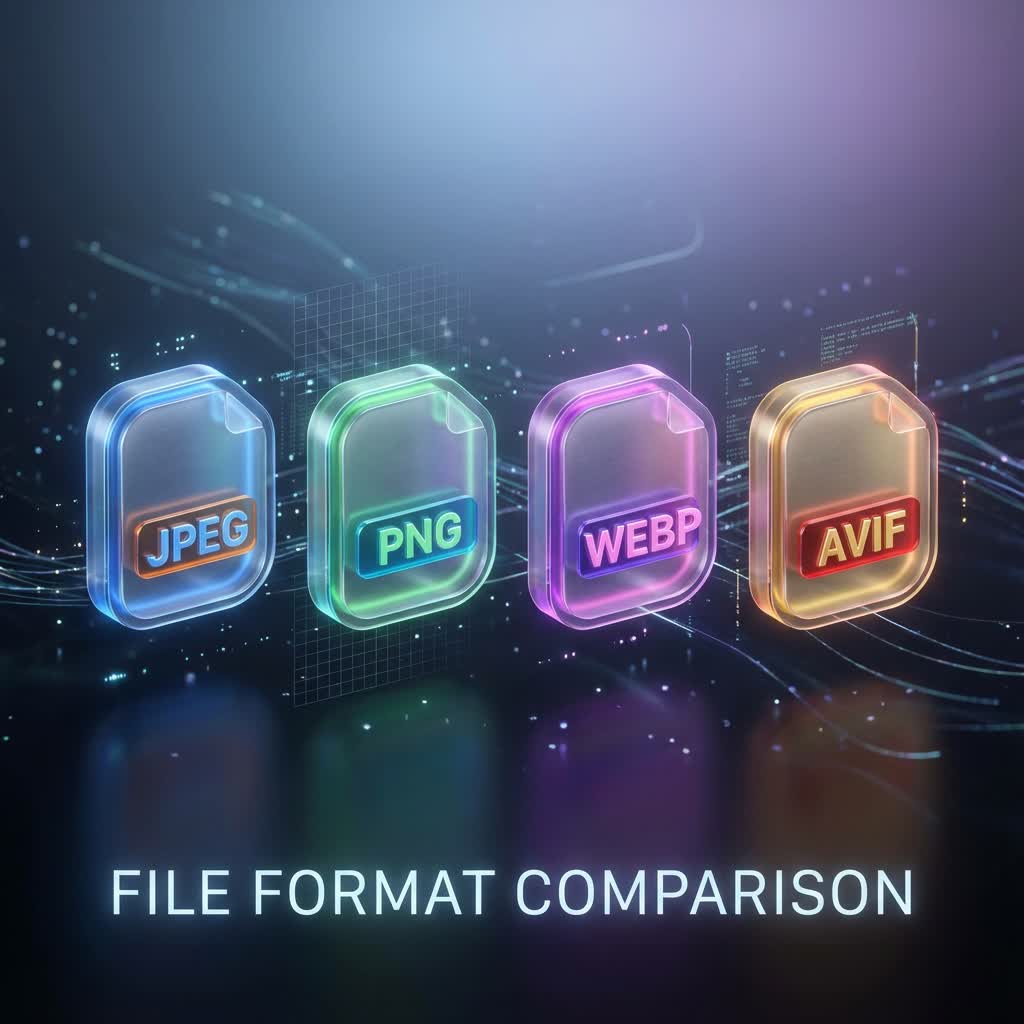
Modern Formats: WebP and AVIF
While JPEG is great, newer formats like WebP (developed by Google) and AVIF (based on the AV1 video codec) utilize even smarter prediction algorithms.
- WebP: Supports both lossy and lossless, plus transparency (alpha channel). It typically offers files 26% smaller than PNGs and 25-34% smaller than JPEGs.
- AVIF: The cutting edge. It provides superior compression for High Dynamic Range (HDR) images but takes more computing power to encode.
Practical Implementation: Compressing with Python
As a developer, you might want to build your own compression pipeline. Python's Pillow library makes this straightforward.
Here is a simple script to compress an image and convert it to WebP:
from PIL import Image
import os

def compress_image(input_path, output_path, quality=80):
    """
    Compresses an image and saves it as WebP.

    Args:
        input_path (str): Path to original image.
        output_path (str): Path to save compressed image.
        quality (int): Quality setting (1-100).
    """
    try:
        with Image.open(input_path) as img:
            # Convert to RGB if necessary (e.g. for PNGs with transparency)
            if img.mode in ('RGBA', 'P'):
                img = img.convert('RGB')

            img.save(output_path, 'WEBP', quality=quality, optimize=True)

            original_size = os.path.getsize(input_path)
            new_size = os.path.getsize(output_path)
            saved = ((original_size - new_size) / original_size) * 100

            print(f"Success! Image saved to {output_path}")
            print(f"Size reduced by {saved:.2f}%")

    except Exception as e:
        print(f"Error compressing image: {e}")

# Usage
compress_image('hero-banner.png', 'hero-banner.webp', quality=75)
When to Use Which Format?
Optimizing your website isn't just about picking one format; it's about picking the right tool for the job.
- Photographs (Real Life): Use WebP or AVIF. Fall back to JPEG for legacy browsers.
- Screenshots / UI Designs / Line Art: Use PNG or Lossless WebP. You need sharp edges.
- Logos / Icons: Always use SVG (Scalable Vector Graphics). They are infinite resolution and tiny file size.
- Animations: Use Video (MP4/WebM) instead of GIFs. GIFs are ancient and incredibly inefficient for complex motion.
Conclusion
Image compression is a balancing act between quality and performance. By understanding the underlying mechanics of how computers see images—pixels, frequencies, and quantization—you can make informed decisions that speed up your applications and delight your users.
At Compresso, we've built these advanced algorithms directly into a simple, offline-first tool. We handle the math so you can focus on creating.
Start optimizing your assets today, and watch your load times drop.

Written by Lovish Jain
Building products to help you move faster. Follow me for updates and tips.