How to Compress a Video Without Uploading It
Compress a video without uploading it on Mac or Windows. Local steps, realistic size ranges, simple settings, and when folder mode helps.
· Updated
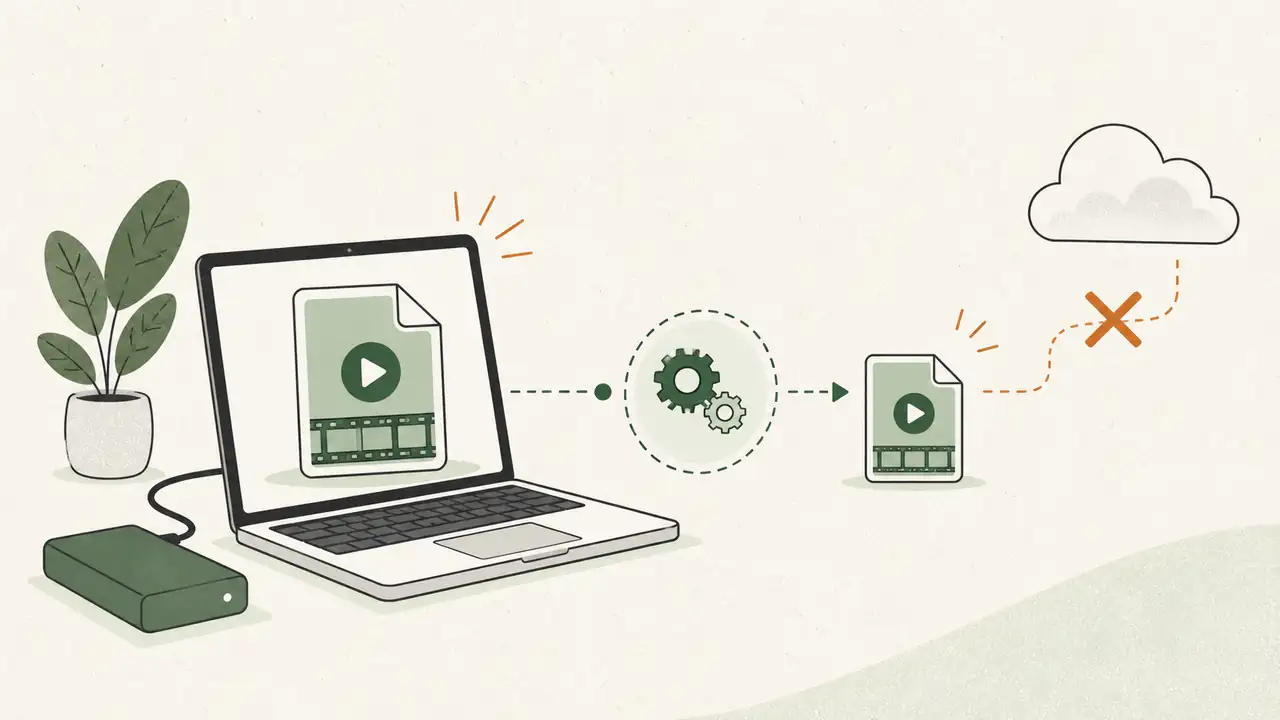
To compress a video without uploading it, use a desktop compressor on your Mac or Windows PC. Add the file, pick your quality settings, and save the smaller copy on your drive. The video never goes to a server first.
That is the whole difference from most online tools: instead of uploading, waiting, and downloading, the compression runs locally. It works the same whether you are on a Mac or a Windows machine, and it still works when you are offline.
How much smaller will your video get?
How much smaller your video gets depends on the file you start with. A high-bitrate 4K phone video has plenty of extra data. A clip already sent through WhatsApp, Instagram, or another compressor has less room left to shrink.
With a larger phone or camera source, it is normal to get an 80% to 90% size reduction. As a rough example, a 1 GB video may land around 100 to 200 MB after a careful local pass. Treat that as a planning range. Source bitrate, resolution, and previous compression all matter.
| Source condition | Typical reduction |
|---|---|
| Larger phone or camera source | 80% to 90% |
| Video already compressed for the web | 10% to 30% |
The larger reduction is common when the source is high bitrate or 4K and the final video is meant for a phone, email, cloud drive, or social upload. A second pass cannot pull much more data out of a file that is already small for its quality.
That is also why people get disappointed after they compress a WhatsApp forward or a Reel download. Those files already went through a hard size cut. Local tools still help for privacy and batch work, but the MB number will not drop the way a raw camera export does.
Here is a real local run on three videos: about 3.9 GB in, about 496 MB out, and 3.46 GB saved. That is the kind of summary you see when compression finishes on your computer.
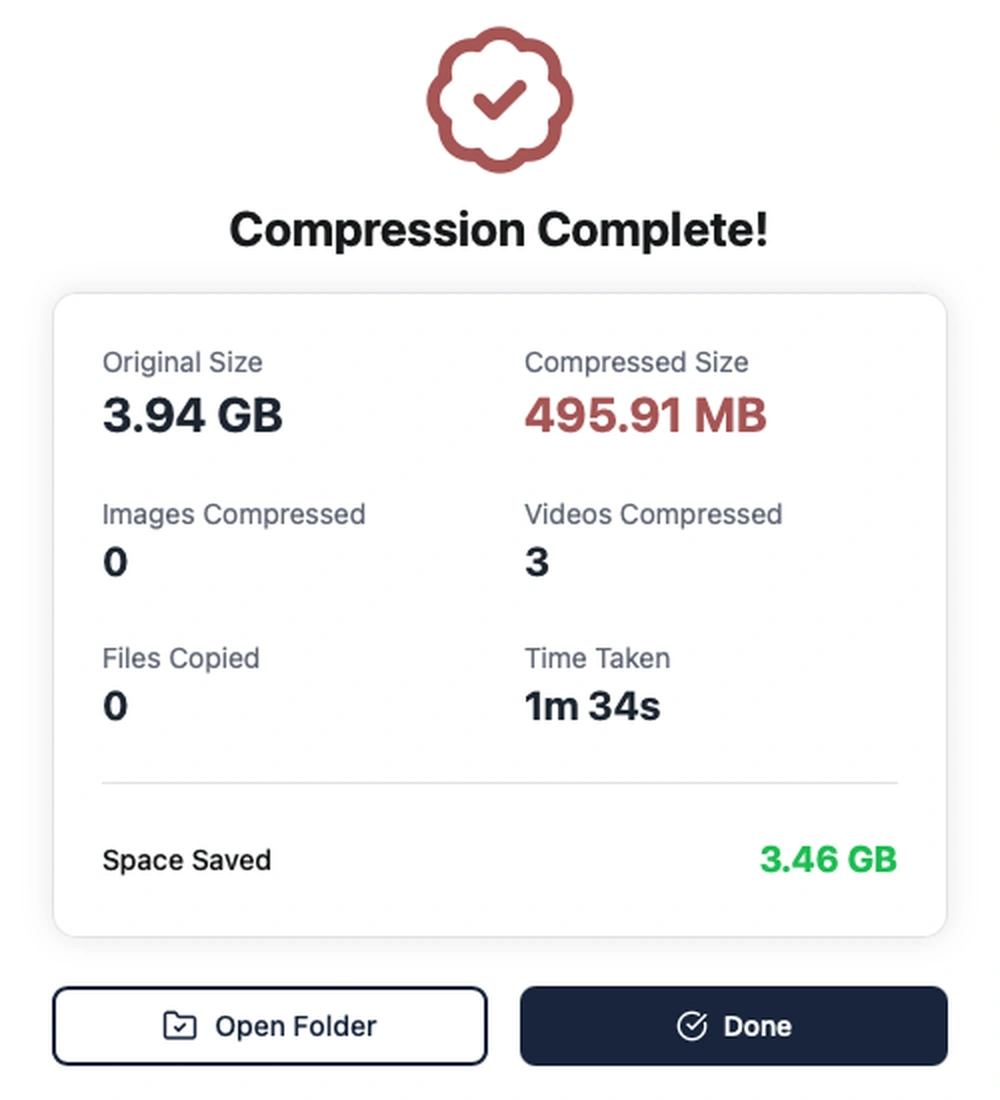
Keep the original until you have watched the compressed copy. Check fast motion, dark scenes, hair, and small text. Those show quality loss first.
Start with High quality and Reduce slightly for size, then inspect the result before sharing it.
What settings should you start with?
Most simple desktop compressors keep video controls in plain English: quality, size, and speed.
For a regular video you want to send or upload, start with:
- High quality (social sharing)
- Reduce slightly to save space
- Fast speed (balanced)
That is a solid middle setting. High is more careful than Standard. Reduce slightly lowers oversized dimensions to something easier to share. Fast is the normal speed choice when you want a smaller file without the slowest encode.
Use Ultra quality for footage with fine detail, fast action, gradients, or small text that needs to stay sharp. Use Standard quality when the file is still too big after High, then watch the result before you send it.
A practical output for sharing is MP4 with H.264 video and AAC audio around 128 kbps. That combo plays on most phones, browsers, and social platforms. FFmpeg's H.264 guide is the usual technical reference for how that encode works if you want the encoder-level detail. You rarely need a fancy codec for email, Drive, Slack, or a social upload.
For vertical social clips, the targets in how to reduce video size for Instagram are a useful export checklist. For a bigger storage cleanup, use the workflow in how to shrink 4K videos.
How do you compress a video locally?
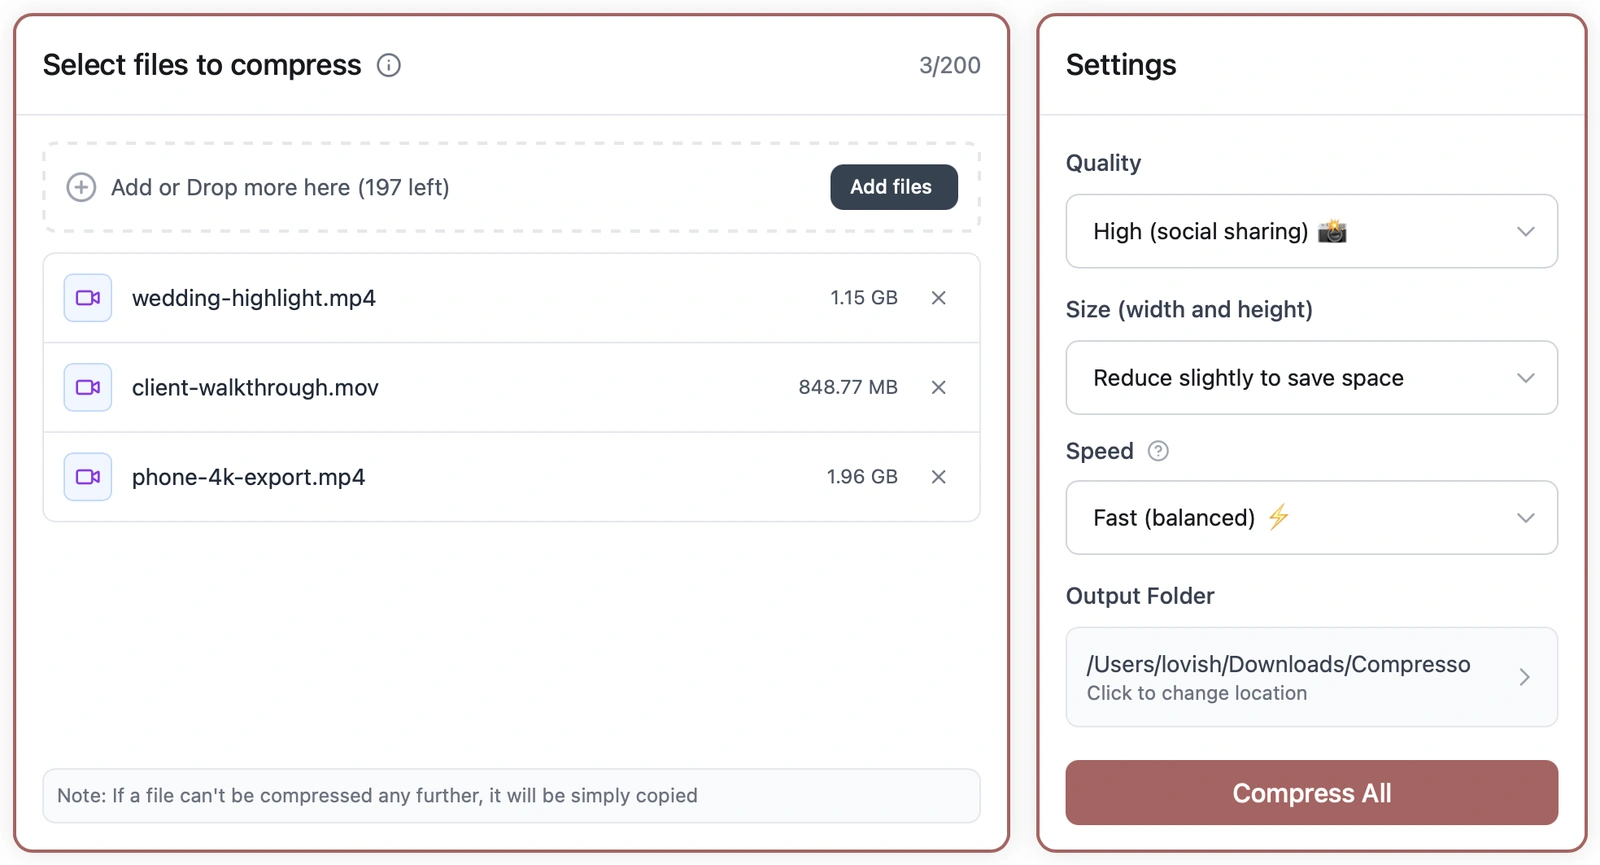
Use Files mode when you have a few videos and want to choose settings yourself.
- Drag in your MP4, MOV, MKV, AVI, WebM, or another supported video.
- Pick High quality, Reduce slightly for size, and Fast speed.
- Choose where the smaller copies should be saved (default is Downloads/Compresso).
- Click Compress All and review the MP4 on your computer.
Compresso does this offline on Mac and Windows. Free plan is up to 10 files per batch and 5 compression runs. Personal raises Files mode to 200 files per batch. Studio has no file cap. Default output is under Downloads, and you can point it somewhere else.
This is the right mode for a selected set of final exports. Keep originals in place and make a separate set of smaller MP4s for email, Drive, Slack, Instagram, or client review.
When should you use Folder mode?
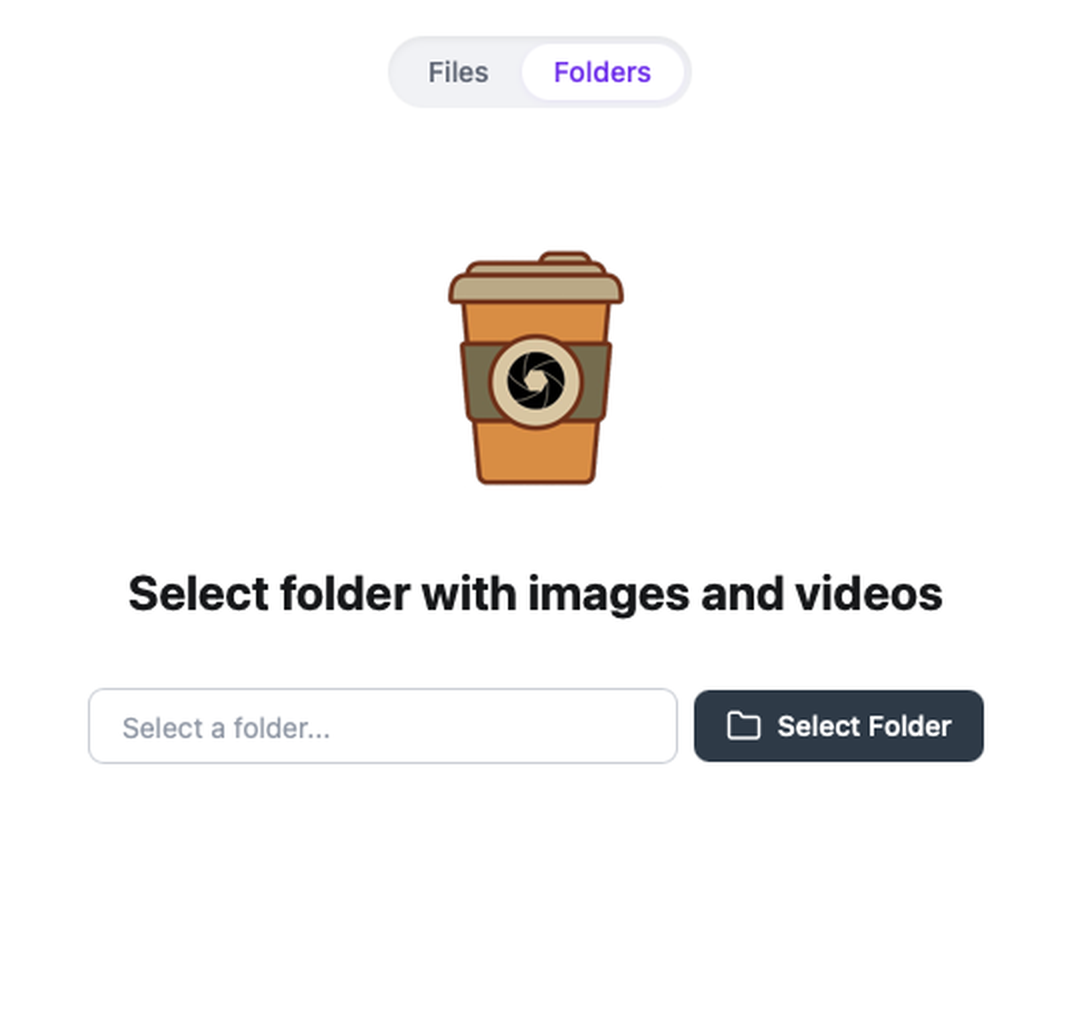
Use Folder mode when you have a project directory with videos, photos, and nested subfolders that you want to keep organized.
The app scans the folder, creates a new <folder>_compressed folder next to it, and preserves the same relative subfolder structure. Your source folder stays untouched.
Folder mode is built for a quick full-folder pass rather than per-file tuning. Defaults are usually High quality, Reduce slightly for size, and a balanced speed. Personal folders go up to 50 GB. Studio has no folder size cap. Free is often capped around 1 GB.
For a mixed project, that is often the more useful choice. A tree like Client/Raw, Client/Social, and Client/Final stays in the same shape after compression. You do not have to sort a flat pile of output files later. See video compression software for Mac and Windows for the full product page, or the Windows bulk video compressor page if you mainly work on PC.
Use Files mode for selected exports. Use Folder mode when the project structure matters.
Does an online video compressor upload your file?
A normal server-based online compressor sends your video to its server before it can process the file. Some browser tools process files locally, but you need to verify that on the product page or in the privacy policy.
Look for wording such as "processed locally in your browser" or "your file never leaves your device." Phrases like "secure upload" and "deleted after processing" still describe a server upload.
That does not mean every online tool is unsafe. For public stock clips or a one-off non-sensitive file, an upload may be fine. For client footage, family videos, unreleased demos, or a large batch, a local workflow means one less service to trust and no waiting on your upload speed before compression even starts.
See desktop vs online compressors for a direct comparison, and why online compressors are a privacy problem if you want the deeper risk angle.
What should you check before you send the smaller video?
Before you upload or share the file, check these five things:
- The MP4 opens and plays all the way through.
- The output size matches the limit you are trying to meet.
- Fast motion, dark scenes, faces, and small text still look right.
- The original is still stored safely.
- The smaller copy is in the right folder for sharing.
If the output is still too big, try Standard quality once and re-check faces and text. If the output looks soft and the size barely dropped, the source was probably already compressed. At that point you gain more by trimming the clip or lowering resolution than by re-encoding harder.
If you are also preparing still images from the same project, the free image resolution checker can catch a too-small source before it becomes part of a final export.
Bottom line
To compress a video without uploading it, shrink it on your computer first. Keep the master on disk, share the smaller MP4, and skip the upload step before compression even starts.
Download Compresso to do that offline on Mac or Windows.
Frequently asked questions
- Can I compress a video without uploading it to a server?
- Yes. Use a desktop compressor that processes files on your computer. The video stays on your drive, and the smaller copy is written next to it or into a folder you choose.
- How much size reduction can I expect from video compression?
- With a larger phone or camera source, an 80% to 90% size reduction is a reasonable planning range. An already-compressed video may only shrink by 10% to 30%. Review the output before you replace the original.
- What settings should I start with for local video compression?
- Start with High quality (social sharing), Reduce slightly to save space, and Fast (balanced) speed. Use Ultra quality when fine detail matters. Use Standard quality only after you have checked that the softer output still works for the destination.
- Can I compress videos offline?
- Yes. Once a desktop compressor is installed, it can shrink files with no internet connection. That works well for client footage, family videos, and slow Wi-Fi.
- Can I compress a whole folder of videos at once?
- Yes. Folder mode scans nested folders, keeps the same relative structure in the output, and can handle large project trees (up to 50 GB on Personal, unlimited on Studio).