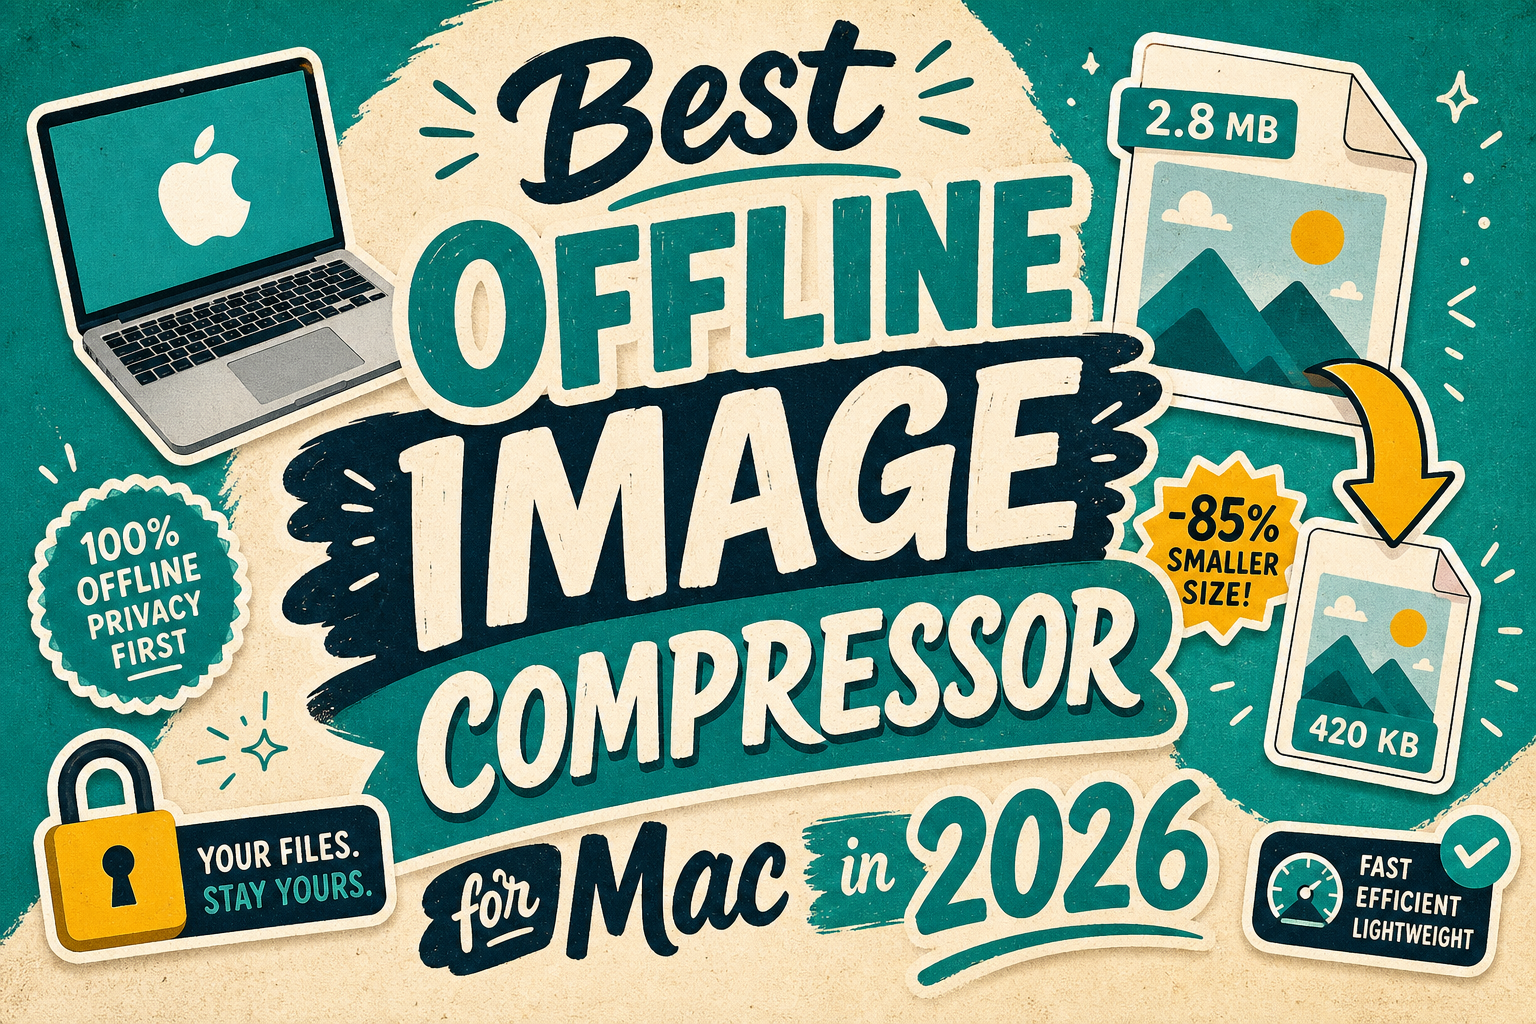
Best Offline Image Compressor for Mac in 2026
Need an offline image compressor for Mac? Compare ImageOptim, Squoosh, CLI tools, and desktop apps that shrink photos without uploading them.
· Updated
I had 1,400 wedding photos on my Mac. About 18 GB.
The gallery site wanted each image under 500 KB. I was not about to upload that set to a random website. The couple’s last name was in every filename. Half the exports still had GPS data.
So what should you use instead?
- Unlimited free images on a Mac: ImageOptim
- One photo, full control: Squoosh
- A whole folder of photos: a desktop app like Compresso
What does offline image compression mean on a Mac?
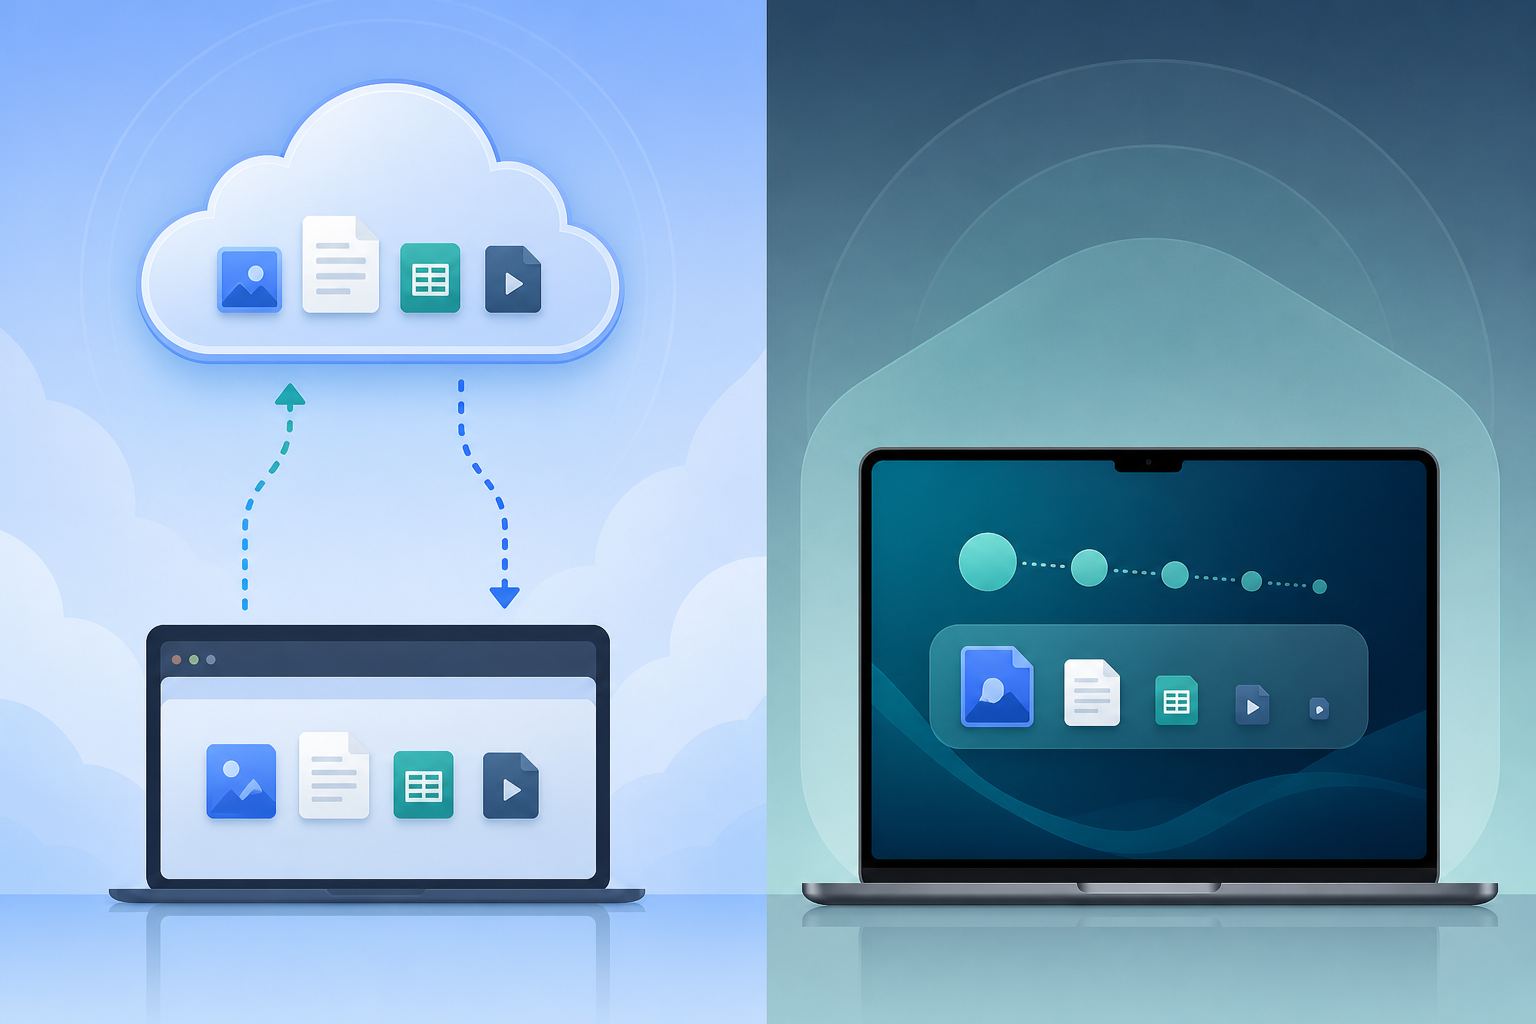
You shrink the photos on your computer. Nothing gets uploaded. You do not have to trust a site that says “we delete files after 60 minutes.” The smaller files end up next to the originals, or in a folder you pick.
On a Mac that usually looks like one of these:
- A desktop app (ImageOptim, Compresso, and similar)
- A command-line tool (
jpegoptim,pngquant,cwebp) - A browser tool that runs on your machine (Squoosh is the common one)
One screenshot in a browser tab is fine. Two hundred product shots or a wedding export is easier in a desktop app. For why upload tools are a bad default for private photos, see stop uploading your privacy.
How do offline Mac image compressors compare?
Here is the short list people actually try.
| Tool | Stays on your Mac? | Best for | Catch |
|---|---|---|---|
| ImageOptim | Yes (desktop) | Unlimited free images on Mac | Mac only; images only |
| Squoosh | Yes (browser, local) | One image with full codec control | One file at a time |
CLI (jpegoptim, pngquant, cwebp) | Yes | Scripts you already run | You write the batch steps yourself |
| Desktop app | Yes | Whole folders of photos | Free tier often has batch limits |
ImageOptim is free and unlimited for images on a Mac. Squoosh is best when you want to tweak quality on one file and watch the size change. CLI tools fit if you already live in Terminal. A desktop app fits when you want to drag in a folder without writing a script.
If you want a deeper compare: Compresso vs Squoosh and Compresso vs FreeConvert. FreeConvert is the upload style a lot of people try first.
ImageOptim: free and unlimited on Mac
ImageOptim is free Mac software for making images smaller for the web. No cloud account. No daily quota.
You drop files or folders. It strips junk metadata and runs a stack of open-source optimizers (MozJPEG, pngquant, and others). Defaults lean toward high quality. You can turn on lossy minification in preferences when you need smaller files.
Two limits to know:
- Mac only
- Images only (no video)
If you only compress images on a Mac and you want unlimited free runs, ImageOptim is still the default pick. Side-by-side with Compresso: Compresso vs ImageOptim.
Squoosh: one image with full control
Squoosh from Google Chrome Labs compresses in the browser on your device. You pick a codec, drag quality, and watch the size change live. That includes WebP and AVIF.
Use it for a hero image or a logo when you want full control over the codec. The UI is one file at a time, so a whole folder gets painful. For how browser and desktop feel on real jobs, see desktop vs browser speed.
Command-line tools: when you already script things
jpegoptim, pngquant, and cwebp are fast and stay local. I used them for years.
They work well after a Figma dump, in a CI step, or as a fixed recipe for PNG vs JPEG. There is no queue UI. You write the loops, output names, and error handling yourself.
If you want the same script every time and you are fine in Terminal, CLI is enough. If you need to drag a client folder in today, use a desktop app.
Desktop apps for whole folders
When you have a big folder that has to get smaller and stay on this Mac, drag the folder in, pick a quality preset, and compress.
Compresso is built for that. Desktop app on Mac and Windows. Drop a folder or pick files, choose quality, compress on your machine. Nothing gets uploaded. Pro Personal is $29 once. Studio is $99 if you need unlimited files.
More on that workflow: bulk image compressor.
What to look for in a Mac image compressor
Whole folders
If you open files one by one, a big set takes forever. Look for folder support and a clear queue.
For a quick one-off when the file is not sensitive, free browser tools like Compress JPG and Compress PNG still help without installing anything.
Formats you actually use
Mac folders are messy: HEIC from iPhones, PNG from design tools, WebP from modern sites, JPG everywhere else. Pick a tool that accepts what is already in your folder.
No account required
If you need an account before you can shrink a private folder, keep looking.
A simple Mac workflow for big folders
- Export at the size the destination needs. If the site needs 2000 px on the long edge, export at 2000 px first. Then compress.
- Check resolution with the Image Resolution Checker if you are unsure what you exported.
- Compress the folder on your Mac. Pick a balanced quality preset and run it.
- Use the smaller files. Keep the originals in their own folder so you always have them.
Which tool should you pick?
- Unlimited free images on a Mac: ImageOptim
- One photo, full control: Squoosh
- Scripts you already run: CLI tools
- A whole folder of photos: a desktop app like Compresso
If you want the desktop route, download Compresso and compress a folder.
For compressing everything inside a project folder, see the bulk image compressor page. For a wider free-tool list (including online options with caps), see best free image compressors.
Frequently asked questions
- What is the best offline image compressor for Mac?
- For unlimited free image compression on a Mac, ImageOptim is still the usual pick. For one photo with full control, Squoosh runs in your browser on your machine. For a whole folder of photos, a desktop app like Compresso keeps everything on Mac and Windows. Pro Personal is $29 once, or Studio $99 for unlimited files.
- Can I compress images on a Mac without uploading them?
- Yes. ImageOptim and other desktop apps work on files already on your disk. Squoosh compresses in the browser on your machine. Tools like jpegoptim and pngquant stay local too. Keep private photos and NDA work off classic upload sites.
- Is ImageOptim still free for Mac?
- Yes. ImageOptim is free open-source software for macOS. It optimizes images (JPEG, PNG, and similar web assets). It is not a video compressor.
- Is Squoosh offline?
- Squoosh compresses the image you open in the browser on your device. That file stays local. It is built for single images, and you still need the page open to use it.
- How do I compress a whole folder of images on Mac?
- Use a desktop app that accepts a whole folder, or write a short script with jpegoptim, pngquant, or similar. One-file browser tools get slow once you have more than a handful of photos.