Reduce Video Size for Instagram Without Killing Quality
Instagram re-encodes every upload. Reduce video size for Instagram with 1080p H.264, the right bitrate, and a local encode so your Reel still looks sharp.
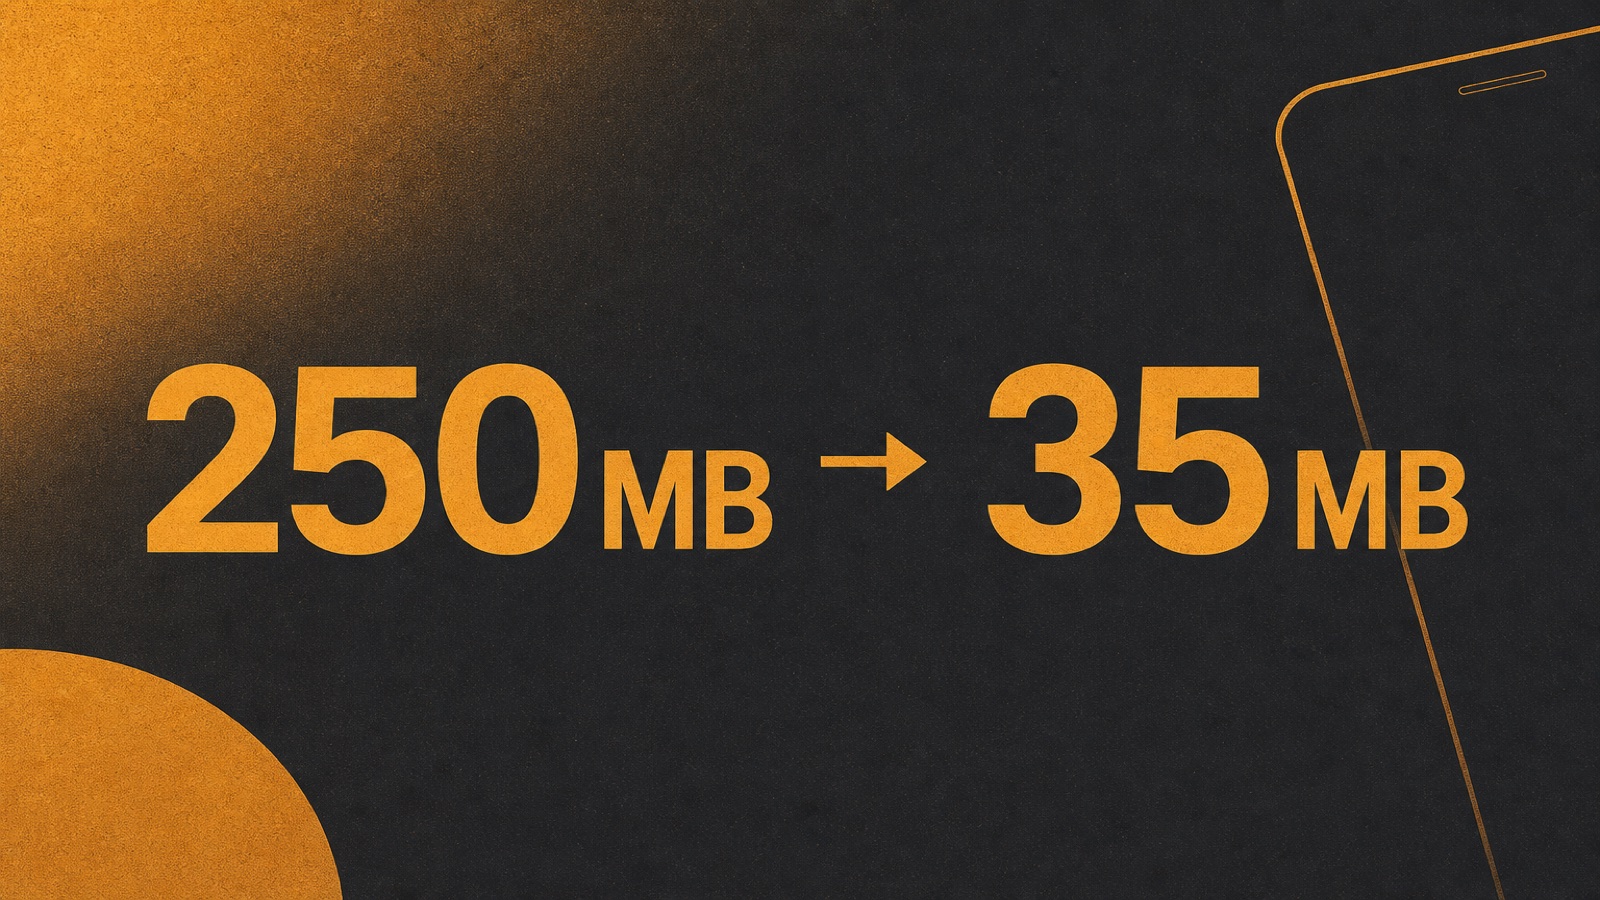
Your Reel export is 250 MB.
The upload gets stuck halfway and fails again when you retry.
To reduce video size for Instagram, export a 1080 × 1920 MP4 at about 5 to 8 Mbps. That is usually enough. Instagram will compress it again anyway, so a huge 4K file will not make your Reel look sharper.
Does Instagram compress every video you upload?
Yes. Instagram compresses every video you upload.
Meta's own help docs say Reels need a minimum of 720p and 30 FPS, with aspect ratios from about 1.91:1 to 9:16. They also let you turn on Upload at highest quality in the app. That helps a bit. It does not stop Instagram from compressing the file again.
Give Instagram a clean file that already matches what people watch on their phones.
Creators face this when a CapCut or Premiere export lands at 200 to 400 MB for a one-minute clip. The upload gets stuck, Wi-Fi drops, and it feels like Instagram is broken. But the real issue is you uploaded an edit-ready master instead of a smaller file meant for posting.
Takeaway: shrink the file to Instagram size before you upload.
What resolution and bitrate work for Instagram Reels?
For Reels and Stories, use 1080 × 1920 (9:16).
For square feed clips, 1080 × 1080 is fine. For portrait feed, 1080 × 1350 (4:5) is the usual target.
Codec and container:
- Video: H.264
- Audio: AAC, around 128 kbps
- Container: MP4
- Frame rate: 30 FPS (60 FPS mostly wastes space; Instagram often drops frames anyway)
Bitrate target for a typical 15 to 60 second Reel:
- About 5 to 8 Mbps for most talking-head or product clips
- Closer to 8 to 10 Mbps if there is fast motion, text overlays, or fine detail
A rough size check: at 6 Mbps, a 45 second Reel is about 34 MB of video data. That is a normal file that uploads fine on a phone.
If your tool uses CRF instead of bitrate, CRF 24 to 26 on H.264 works well for most Instagram clips. Lower CRF numbers mean bigger files. You rarely need CRF 18 for a social upload.
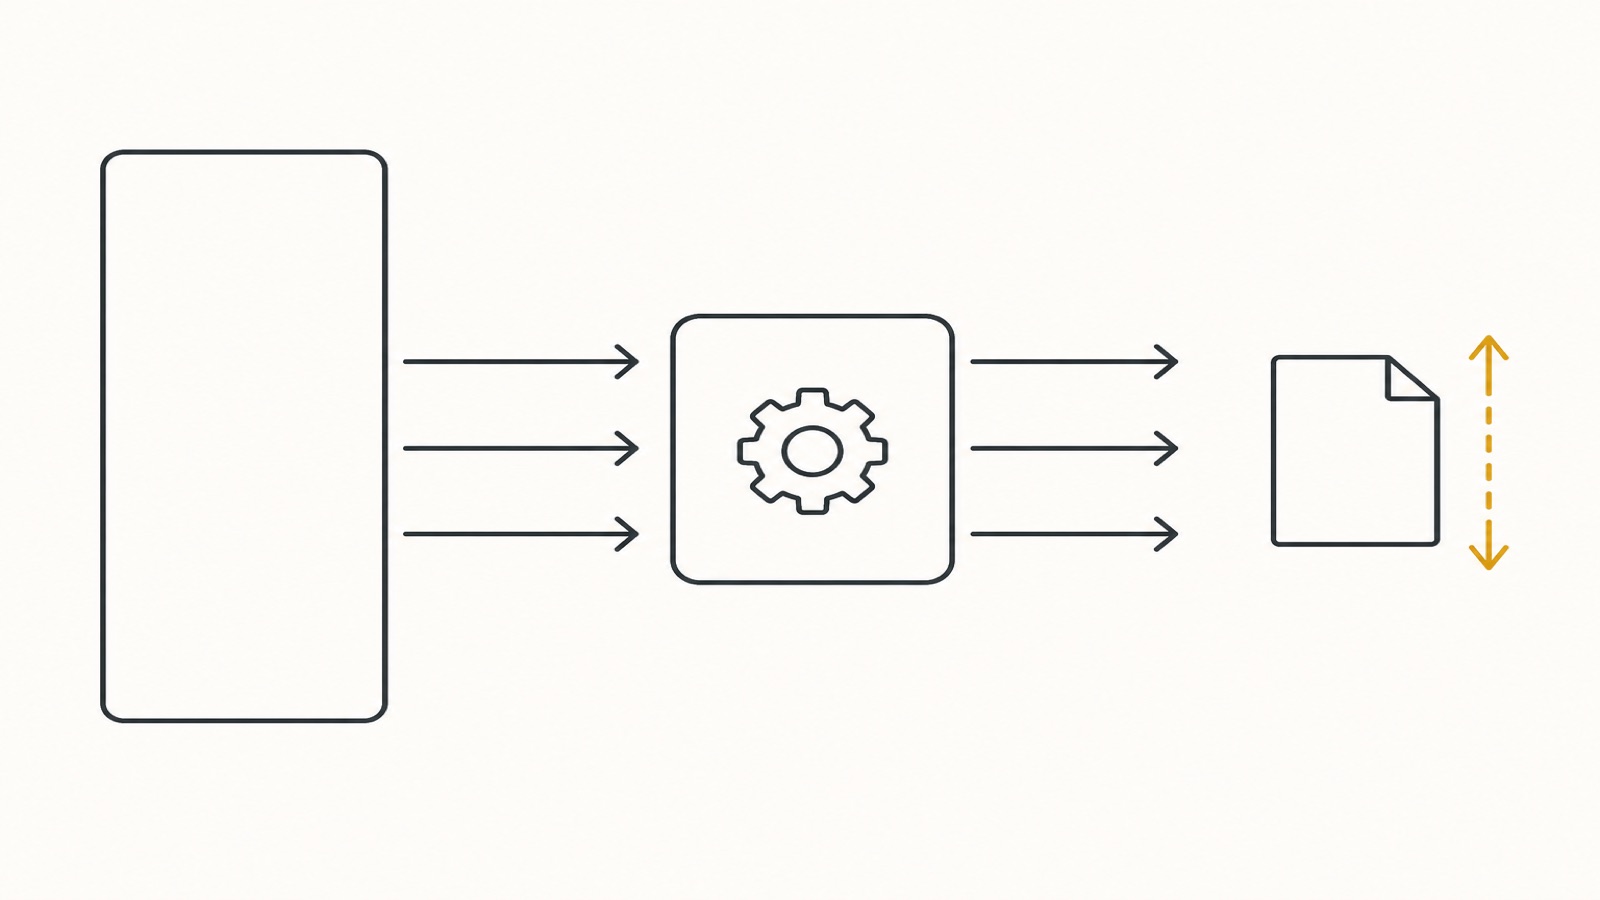
Takeaway: use 1080p H.264 at 5 to 8 Mbps for Instagram Reels.
Why a 4K export looks worse after Instagram
You shoot in 4K, export in 4K, upload it, and the feed still looks soft.
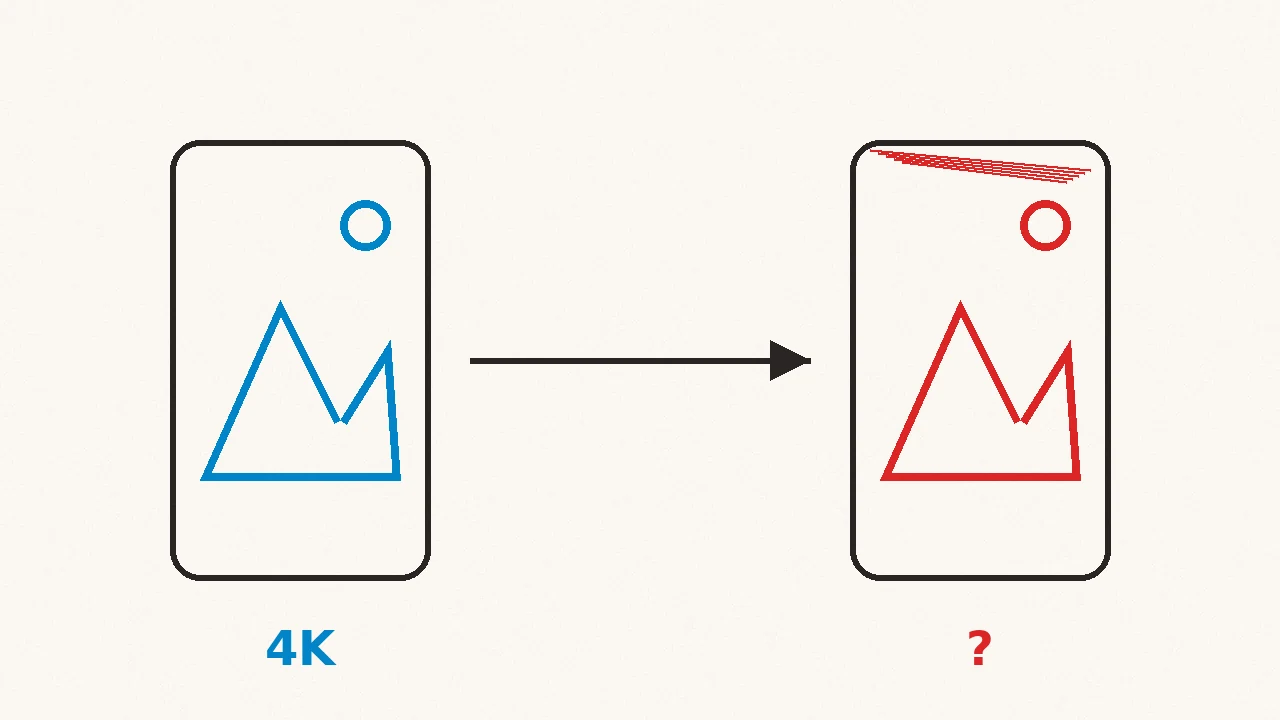
Instagram is not showing your 4K file. It shrinks it and compresses it again for phones. When the source is oversized, that second pass has more work to do, so edges go soft, skin looks muddy, and small text turns blurry.
A 1080 × 1920 export already matches the frame people watch. Instagram has less resizing to do, so more of your bitrate goes into detail that survives.
Same idea as storage cleanup for big masters in how to shrink big video files. Keep the master on your drive. Upload a smaller copy.
One more thing that fails a lot: tiny text and thin logos. If your end card has 12px type, Instagram's compress will smear it. Make the text bigger in the edit. A higher bitrate will not save thin type.
Takeaway: export at 1080 × 1920 so Instagram has less work to do.
How to shrink an Instagram video on your computer
Do this after your edit is locked.
- Export (or re-encode) to MP4 / H.264 / AAC.
- Set frame size to 1080 × 1920 for Reels, or the feed size you need.
- Aim for 5 to 8 Mbps, or use a quality preset around CRF 24 to 26 if your tool talks in CRF instead of bitrate.
- Keep audio at AAC 128 kbps unless music needs a little more.
- Check the file is under a few hundred MB. Prefer under 100 MB if your phone uploads are flaky.
- Upload from the phone or desktop, with Upload at highest quality on if you care about the last bit of detail.
Skip the random "online Instagram compressor" site when the clip is private, branded, or still has client names in the filename. Compress on your computer, then upload once.
If you only need a quick check on still frames from the same shoot, the free image resolution checker helps confirm you are not shipping a tiny source by mistake.
For private client footage, compress on your machine. Do not park drafts on a random web compressor. That risk is the whole point of why online compressors are a privacy problem.
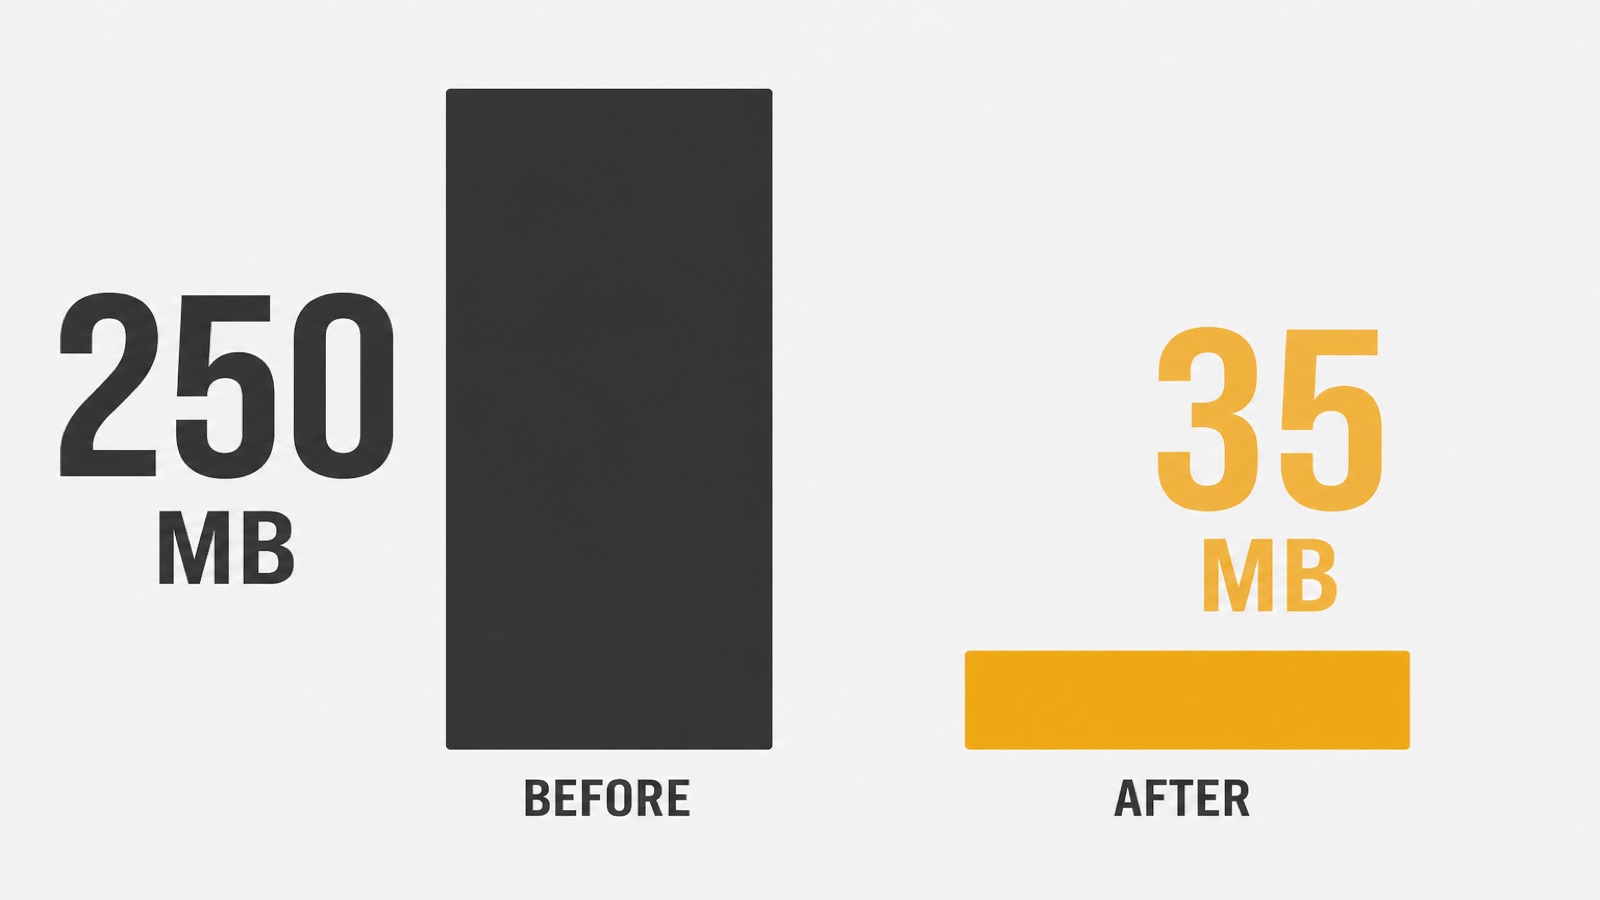
Takeaway: compress the Reel on your computer first. Then upload the smaller file to Instagram.
Settings cheat sheet for Reels, Stories, and Feed
Use this as a sticky note next to your export panel.
| Placement | Size | Notes |
|---|---|---|
| Reels / Stories | 1080 × 1920 | 9:16, 30 FPS, MP4 |
| Feed square | 1080 × 1080 | Keep text away from edges |
| Feed portrait | 1080 × 1350 | 4:5, still MP4 |
Hard limits change over time, but creators rarely hit the multi-GB ceiling. Slow uploads and soft results usually come from wrong resolution and a file that is way too big.
Common mistakes to skip:
- Exporting ProRes or DNx "just in case" for a Reel
- Leaving the timeline at 4K when the post is vertical 1080
- Uploading 60 FPS screen recordings of a static UI
- Crushing the file to 2 Mbps so hard that faces look plastic before Instagram even touches it
If you batch a week of Reels, a desktop compressor that outputs MP4 with simple quality presets is enough. Compresso's video path uses H.264 and AAC, which matches what Instagram wants.
Takeaway: save one preset for Reels and reuse it.
Bottom line
To reduce video size for Instagram, export 1080p H.264 at about 5 to 8 Mbps.
Compress on your computer, then upload.
Keep the 4K master file on your drive and give Instagram the smaller file.
Download Compresso if you want that step to stay offline on Mac or Windows.
Frequently asked questions
- What resolution should I use for Instagram Reels?
- Export at 1080 × 1920 (9:16). Meta asks for at least 720p and 30 FPS. Going above 1080p does not help because Instagram downscales and re-encodes the file.
- Does Instagram compress videos after I upload them?
- Yes. Instagram re-encodes every video for delivery. A huge 4K export does not look better on the feed. A clean 1080p H.264 file usually looks better after their pass.
- What file size should an Instagram Reel be?
- Stay under a few hundred MB when you can. A 30 to 60 second Reel at 1080p and roughly 5 to 8 Mbps often lands around 20 to 60 MB, which uploads faster and fails less often on mobile.
- Should I upload H.265 or H.264 to Instagram?
- Use H.264 in an MP4. Instagram's pipeline is built around H.264. H.265 can work, but it often gets re-encoded harder and can look worse after upload.
- Can I compress Instagram videos without uploading them to a random website?
- Yes. Compress locally on your Mac or PC, then upload the smaller MP4 to Instagram. Your draft never has to sit on a third-party compressor server.